- footer 높이 따라오기
- 사진 슬라이드
1) footer 높이 따라오기
<body>
  <section id="content">
    <div class="inner">
      <div class="sub-tab">
        <ul class="tab">
          <li class="on" data-id="0"><a href="#">제목1</a></li>
          <li data-id="1"><a href="#">제목2</a></li>
          <li data-id="2"><a href="#">제목3</a></li>
          <li data-id="3"><a href="#">제목4</a></li>
          <li data-id="4"> <a href="#">제목5</a></li>
        </ul>
        <div class="con-box">
          <article class="box box0">
            <h3>제목1</h3>
            <p>
              Lorem ipsum dolor sit amet consectetur adipisicing elit. Minima expedita autem harum officia debitis,
              ullam sapiente itaque nulla beatae eius molestiae excepturi non repellendus doloremque nam, temporibus
              consequatur vero. Voluptatibus?
            </p>
          </article>
          <article class="box box1">
            <h3>제목1</h3>
            <p>
              Lorem ipsum dolor sit amet consectetur adipisicing elit. Minima expedita autem harum officia debitis,
              ullam sapiente itaque nulla beatae eius molestiae excepturi non repellendus doloremque nam, temporibus
              consequatur vero. Voluptatibus?
            </p>
          </article>
          <article class="box box2">
            <h3>제목2</h3>
            <p>
              Lorem ipsum dolor sit amet consectetur adipisicing elit. Minima expedita autem harum officia debitis,
              ullam sapiente itaque nulla beatae eius molestiae excepturi non repellendus doloremque nam, temporibus
              consequatur vero. Voluptatibus?
            </p>
          </article>
          <article class="box box3">
            <h3>제목3</h3>
            <p>
              Lorem ipsum dolor sit amet consectetur adipisicing elit. Minima expedita autem harum officia debitis,
              ullam sapiente itaque nulla beatae eius molestiae excepturi non repellendus doloremque nam, temporibus
              consequatur vero. Voluptatibus?
            </p>
          </article>
          <article class="box box4">
            <h3>제목4</h3>
            <p>
              Lorem ipsum dolor sit amet consectetur adipisicing elit. Minima expedita autem harum officia debitis,
              ullam sapiente itaque nulla beatae eius molestiae excepturi non repellendus doloremque nam, temporibus
              consequatur vero. Voluptatibus?
            </p>
          </article>
        </div>
      </div>
    </div>
  </section>
  <footer id="footer">
    하단내용
  </footer>
  <script>
    const get = (target) => {
      return document.querySelector(target);
    }
    const getAll = (target) => {
      return document.querySelectorAll(target);
    }

    let $li = getAll('li');
    let $box = getAll('.box');
    let $conBox = get('con-box');
    let content = get('#content');
    let id = 0;
    let old = 0;
    let h = 0;

    $box.forEach(boxList => {
      boxList.style.display = 'none'
    })

    $box[id].style.display = 'block';

    $li.forEach(element => {
      element.addEventListener('click', e => {
        id = e.currentTarget.dataset.id;

        $box.forEach(boxList => {
          boxList.style.display = 'none'
        })

        $box[id].style.display = 'block';

        $li[old].classList.remove('on');

        e.currentTarget.classList.add('on');


        // 높이 처리
        h = getComputedStyle($box[id]).height;
        h = parseInt(h) +200;
        content.style.height = h +'px';

        old = id;
      })
    })
  </script>
</body>
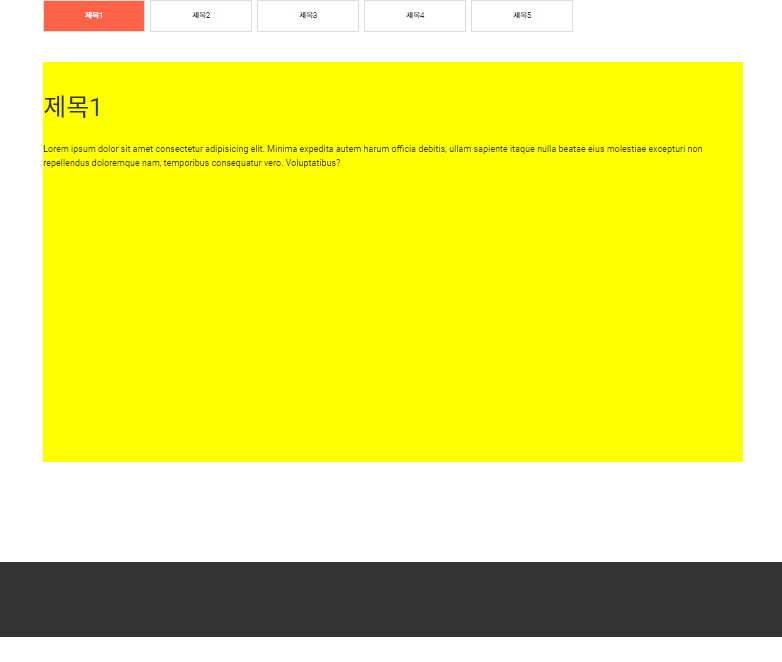
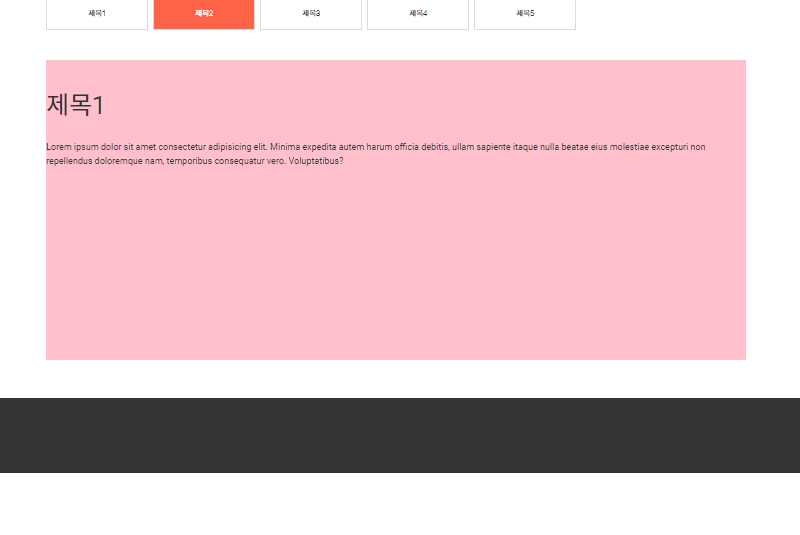
내용이 들어있는 박스를 선택할 때마다 footer의 위치를 맞춰주도록 구현해 보았다.
getComputedStyle($box[id]).height;를 변수 h에 넣어 박스의 높이를 할당하고, footer까지 200px의 여유가 있게 했다.
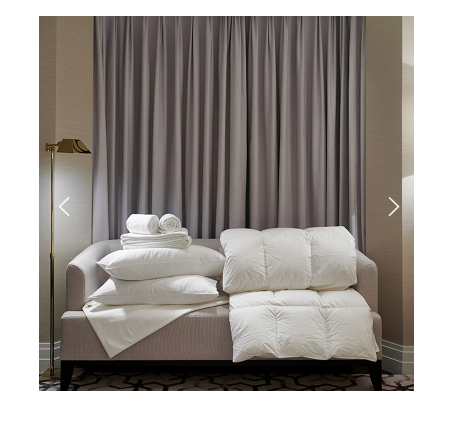
2) 사진 슬라이드

<body>
  <div class="con-box">
    <ul class="banner">
      <li>
        <img src="images/img0.jpg" alt="">
      </li>
      <li>
        <img src="images/img1.jpg" alt="">
      </li>
      <li>
        <img src="images/img2.jpg" alt="">
      </li>
      <li>
        <img src="images/img3.jpg" alt="">
      </li>
      <li>
        <img src="images/img4.jpg" alt="">
      </li>
    </ul>
    <p>
      <button class="btn prev">
        <i class="xi-angle-left-thin"></i>
      </button>
      <button class="btn next">
        <i class="xi-angle-right-thin"></i>
      </button>
    </p>
  </div>
  <script>
    ; (function () {
      const get = (target) => {
        return document.querySelector(target);
      }
      const getAll = (target) => {
        return document.querySelectorAll(target);
      }

      let $banner = get('.banner');
      let $bannerli = getAll('.banner li');
      let $next = get('.next');
      let $prev = get('.prev');
      let current = 0;
      let totalImage = $bannerli.length;
      let size = 750;


      // xxx.style.transform = translateX(750); banner 이동
      $next.addEventListener('click', e => {
        current--;
        banner();
      })
      $prev.addEventListener('click', e => {
        current++;
        banner();
      })

      function banner() {
        $banner.style.transform = `translateX(${size*current}px)`;
      }

    })();
  </script>
</body>
버튼을 누를 때마다 currnet의 값이 1씩 증감하고 사진의 가로 크기인 750p만큼 곱해져 ul이 x축으로 이동하게 만들었다.
  <script>
    ; (function () {
      const get = (target) => {
        return document.querySelector(target);
      }
      const getAll = (target) => {
        return document.querySelectorAll(target);
      }

      let $banner = get('.banner');
      let $bannerli = getAll('.banner li');
      let $next = get('.next');
      let $prev = get('.prev');
      let current = 0;
      let totalImage = $bannerli.length;
      let size = 750;


      // xxx.style.transform = translateX(750); banner 이동
      $next.addEventListener('click', e => {
        if(current === -4){
          current = 1;
        }
        current--;
        banner();
      })
      $prev.addEventListener('click', e => {
        if(current === 0){
          current = -5;
        }
        current++;
        banner();
      })

      function banner() {
        $banner.style.transform = `translateX(${size*current}px)`;
      }

    })();
  </script>
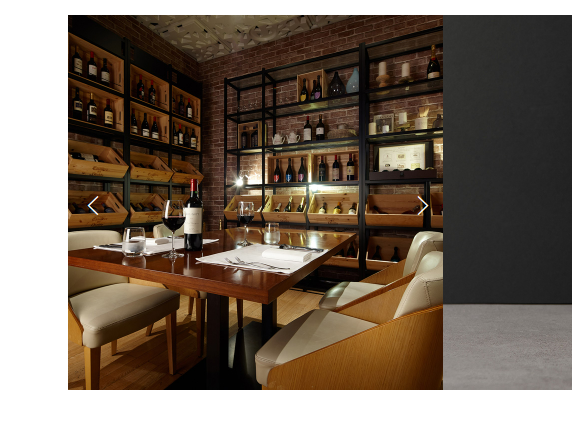
if문을 사용해 current 값을 순환하게 하면 그에 따라 사진도 순환하게 된다.
아래 코드처럼 overflow : hidden을 사용하면 나머지 이미지들은 보이지 않고 ul의 크기만큼만 li가 보이게 된다.
    .con-box {
      width: 750px;
      margin: 50px auto;
      position: relative;
      overflow: hidden;
    }